Splatter Paint
Careful, this one gets messy.
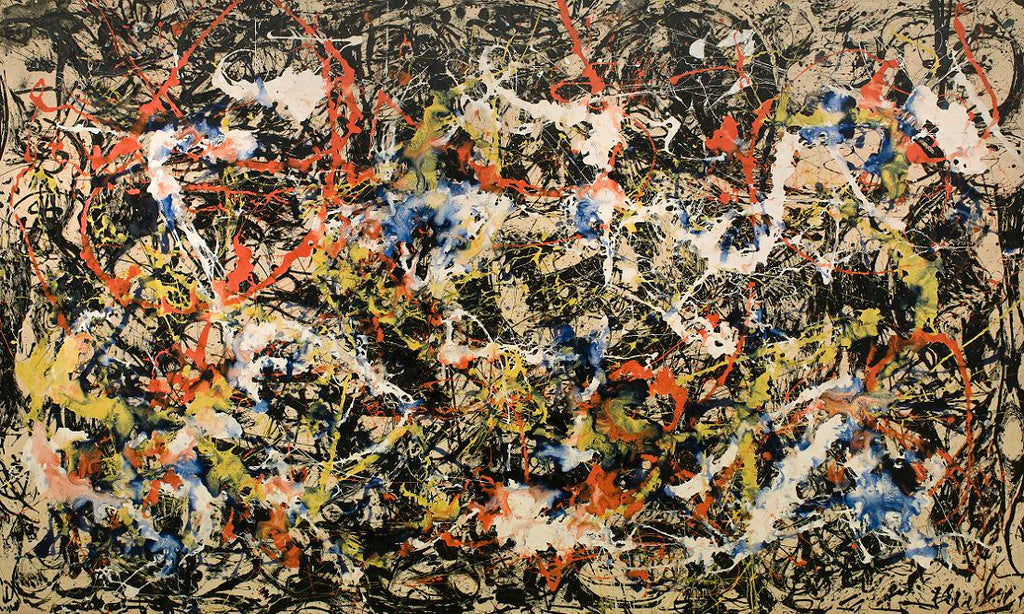
Splatter paint is as explosive and colorful as its history. It started in the 1940’s in New York, due to art censorship, or the banning of certain kinds of art. Because artists were not supposed to show art that spoke badly about politics, creative styles like splatter paint were used to get their message across, in something called the “Abstract Expressionist Movement”.
Jackson Pollock is one of the more famous splatter artists, sometimes taking hours to complete his art. Some of his works have sold for $140 million!
Splatter Paint is easy to do, as long as you have the space to do so.
Materials:
- Butcher paper, newspaper, or a tarp
- Construction paper or posterboard
- Tape
- Acrylic Paint (Washable)
- Paintbrushes of different sizes
- Clothes you’re not afraid to get dirty
Step 1: Set up your space
I would recommend doing this outside, or somewhere with a lot of room, such as a basement. Move anything that you’d prefer not to get painted in the process, and cover the wall and floor with butcher paper, newspaper, a tarp, or a crafty combination of the three. Make sure to cover a sizeable area! Even the neatest of little artists are going to have trouble staying on target for this project.
Speaking of targets, hang up your paper at about eye level, taping on the backside of the paper so as to not cover the corners.
Step 2: Pick your colors
Feel free to lay out a rainbow of colors, or, if you’d like to feel more like a professional splatter painter, talk to your little artist about what feeling they want their piece to have. Happy? Pick some warm colors, like yellows and oranges! Angry? Maybe reds and blacks.
Step 3: Gear up
Artists for this project should dress up in clothes that can get a little messy. If your artist is going to need an assistant, you should do the same. Will you need eye protection? Consider sunglasses or swimming goggles
Step 4: Go for it!
Stand a few feet away from the paper. Dip, splatter, repeat! Try different motions and different amount of paint- does a faster sweep of the arm create speckles? Will more paint make big lines? Try and find out!

(Don’t have the space for this project? Cover a table in butcher paper and try the same project with watercolors!)
Step 5: Let it dry
Don’t touch the paper until it is dry enough to move- depending on the enthusiasm of your artist, this may take some time. While waiting, here’s some questions you can ask-
Did you have fun? Were there any techniques that you preferred?
How would you feel if you weren’t allowed to express yourself? Would you find secret ways to let people know how you’re feeling, like the people in the expressionist movement?
Does your picture look like the feeling you were trying to express? Why/why not?
Step 6: Admire!
Sign the back, and find a place to display it! Great job!
If you try out this project, please snap a picture and tag us on Facebook, Instagram, or Twitter. We love to see what our community can do!